
Now that your setup is complete, you're ready to start allocating costs.
-
Go to the Employee Costs page and enter the total costs for each category for every employee within the specified pay period range. These costs can be revised as needed throughout the process.
-
Next, go to the time activity page to view and edit (if needed) the time data that has synced into CAP from QuickBooks.
Pro tip: You can use Custom Rules to automatically edit time entries, correct errors, or set default coding for specific employees. Click Here to learn more about Custom Rules.
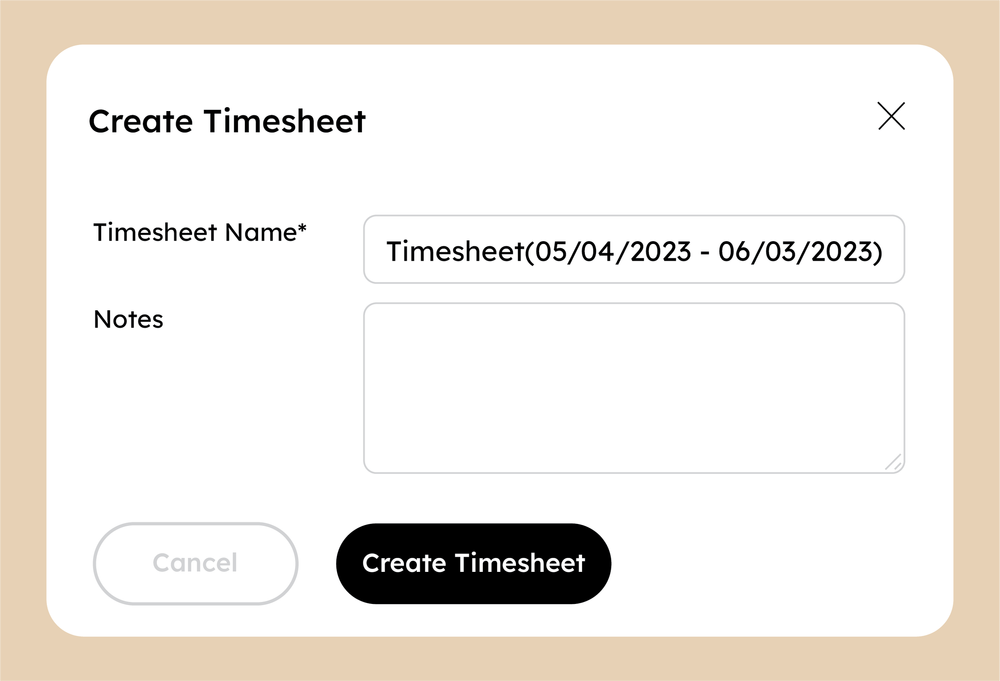
After you have made any necessary edits, click “Create Timesheet” to post the time. A window will pop up and allow you to rename the time sheet if you choose. Click “Create Timesheet” to continue.
To view your allocation results, go to the Cost Allocation page. When you’re ready to post the allocation journal entry to QuickBooks, click the “Preview Journal” button at the top right of the page.
-
Confirm the posting date of the journal entry and post the journal entry by clicking the “Preview Journal” button at the bottom of the page.